How to print your favorite river on a receipt
A behind-the-scenes look at production of the Lower Deschutes Ribbon Map conservation benefit project, and a little pep talk on the pleasures of making things.

Folks have been wondering how the Lower Deschutes Ribbon Map come to life. Here’s a look inside Current Flow State HQ for a tour of our state-of-the-art production facility. And a little on my philosophy for making things, in general.
I’ve been extremely lucky in life to have been able to pursue a lot of weird, tangential side projects, and follow my interests wherever they might go. And a lot of those skills in just doing stuff have rolled over into my professional life. But mostly they’ve made it easier to just do other stuff.
I don’t intend any of this as advise per se; more like encouragement. There’s probably a thing you want to do that feels too big or like there’s too much to figure out. I’m here to tell you it’s something you can figure out, and there are lots of people out there who will want to help.
Maps are cool
Digital things can feel ephemeral and transient. One goal of the whole Current Flow State project is bringing more durable, tangible objects into the world. Stuff that endures, and maybe reminds people they don’t need an app to go fly fishing.
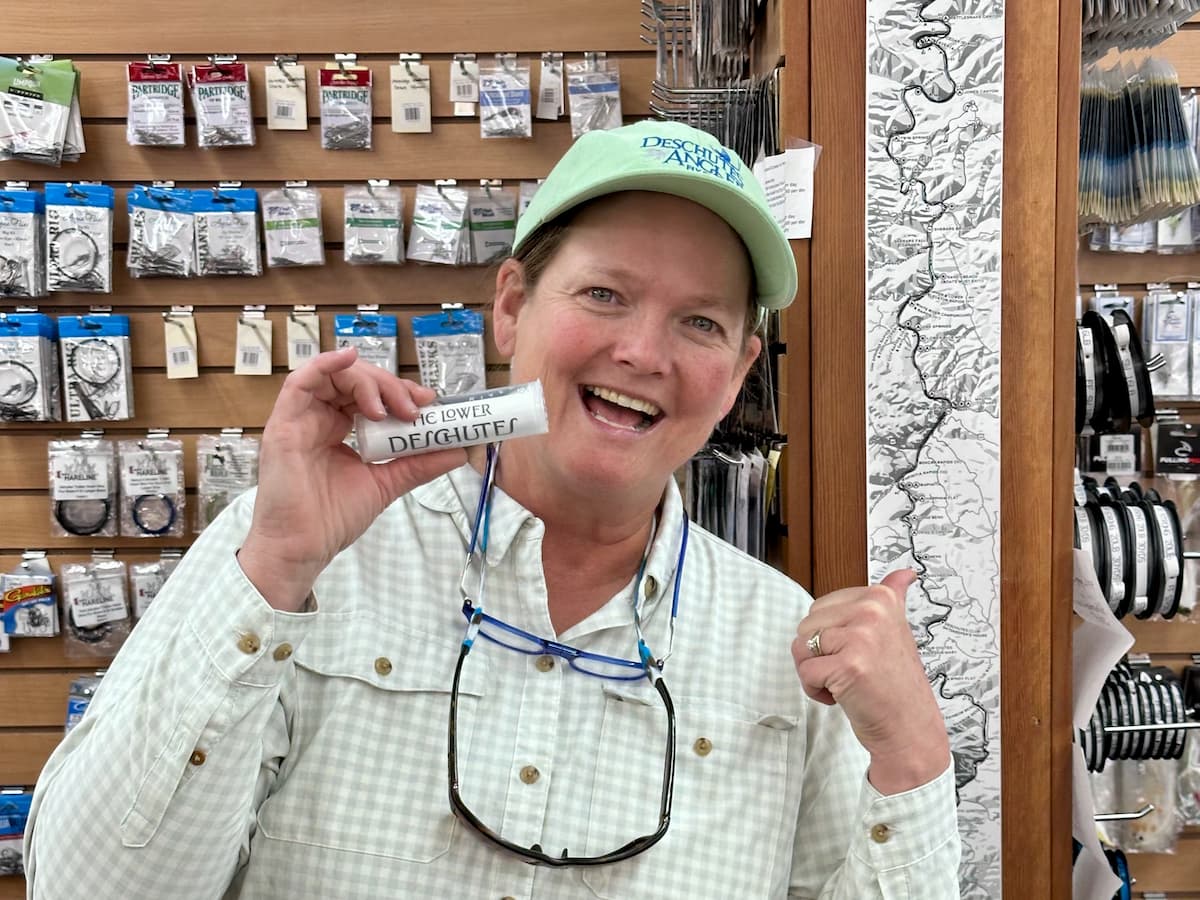
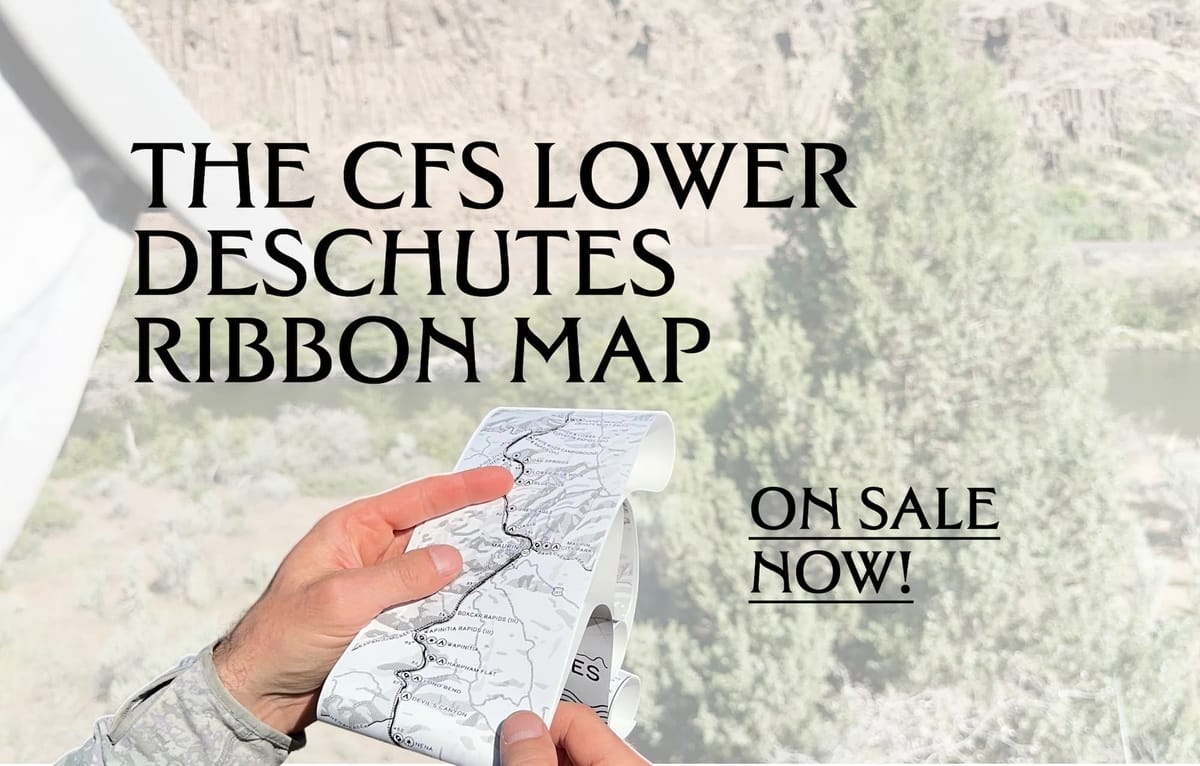
This spring we embarked on our first large-scale physical “product”: A ribbon map of the Lower Deschutes to benefit the Deschutes River Alliance:
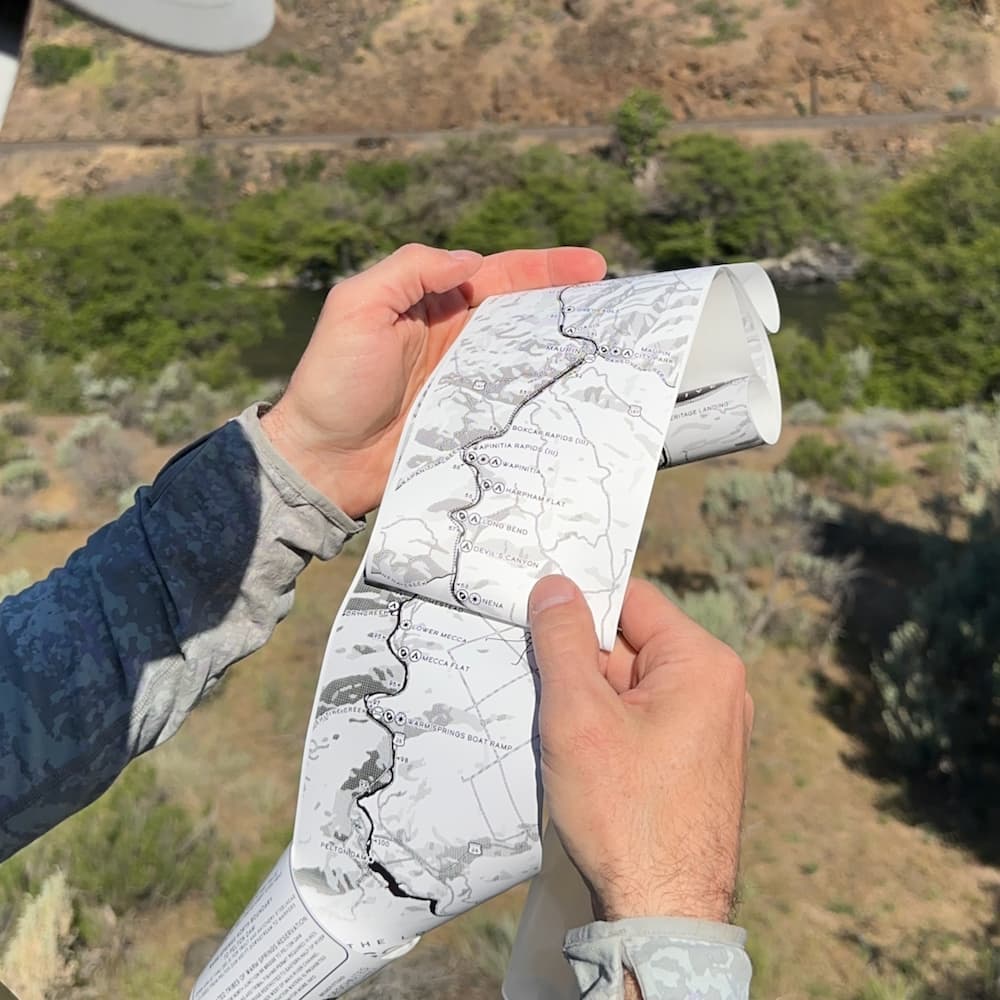
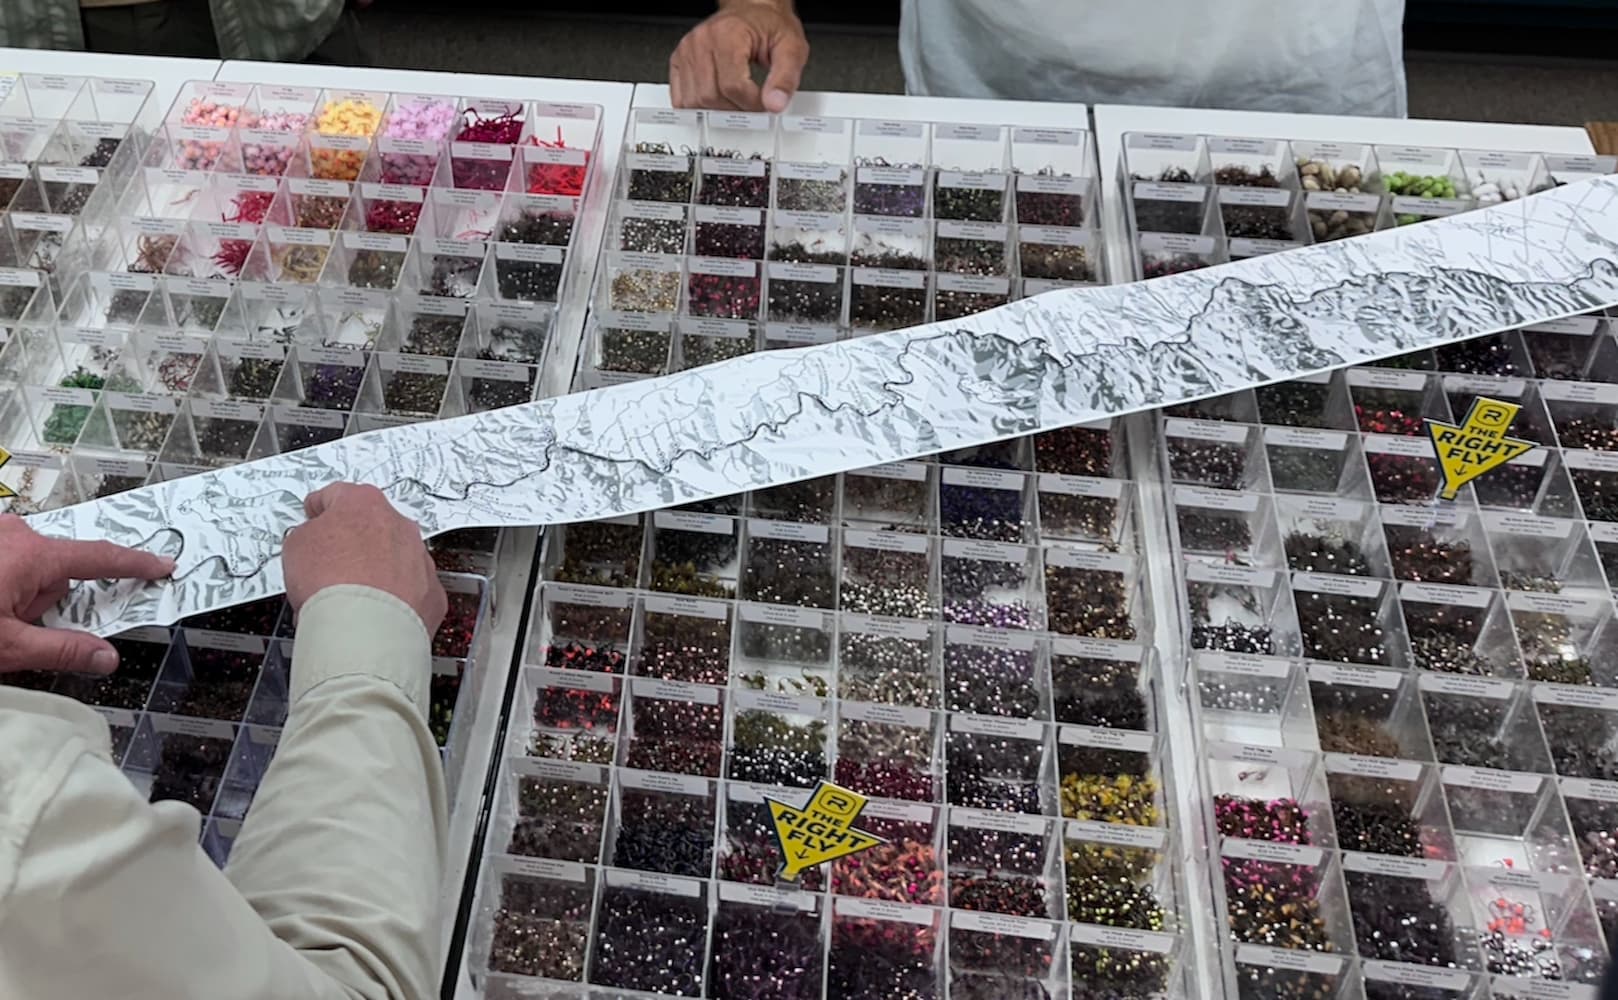
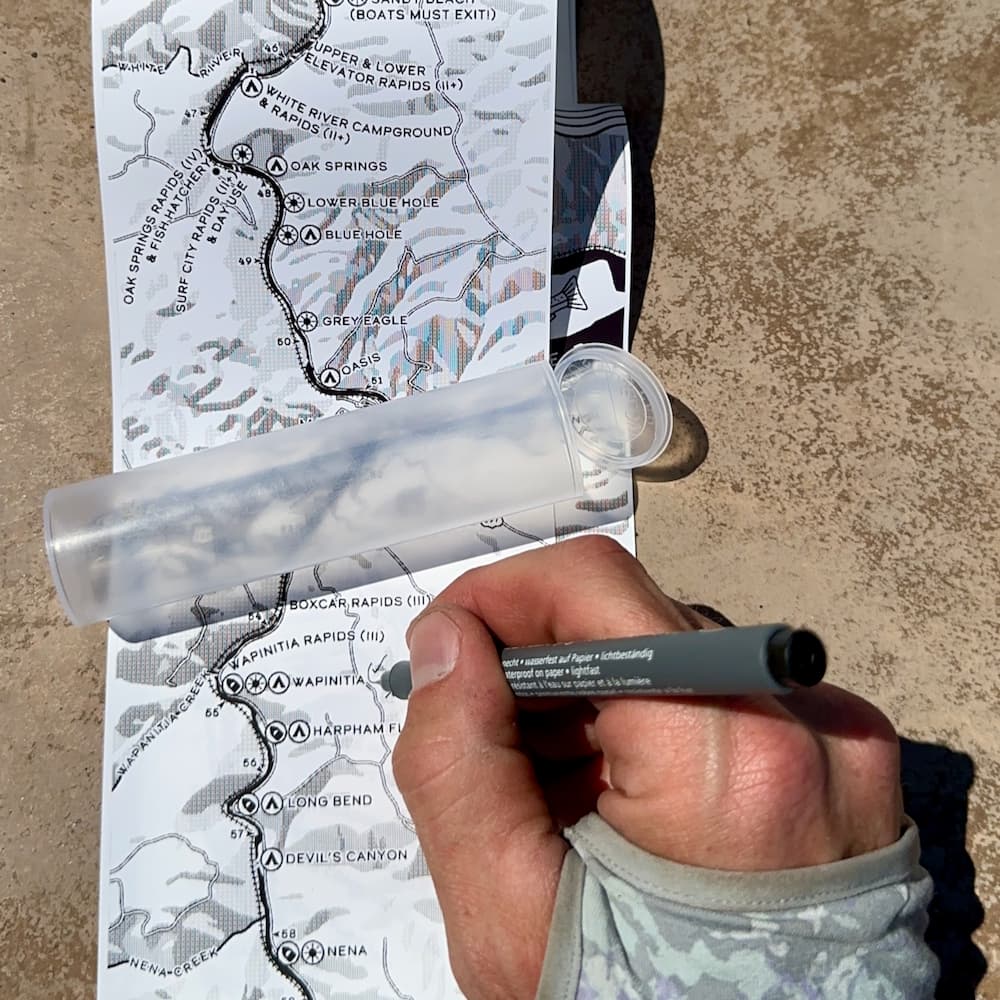
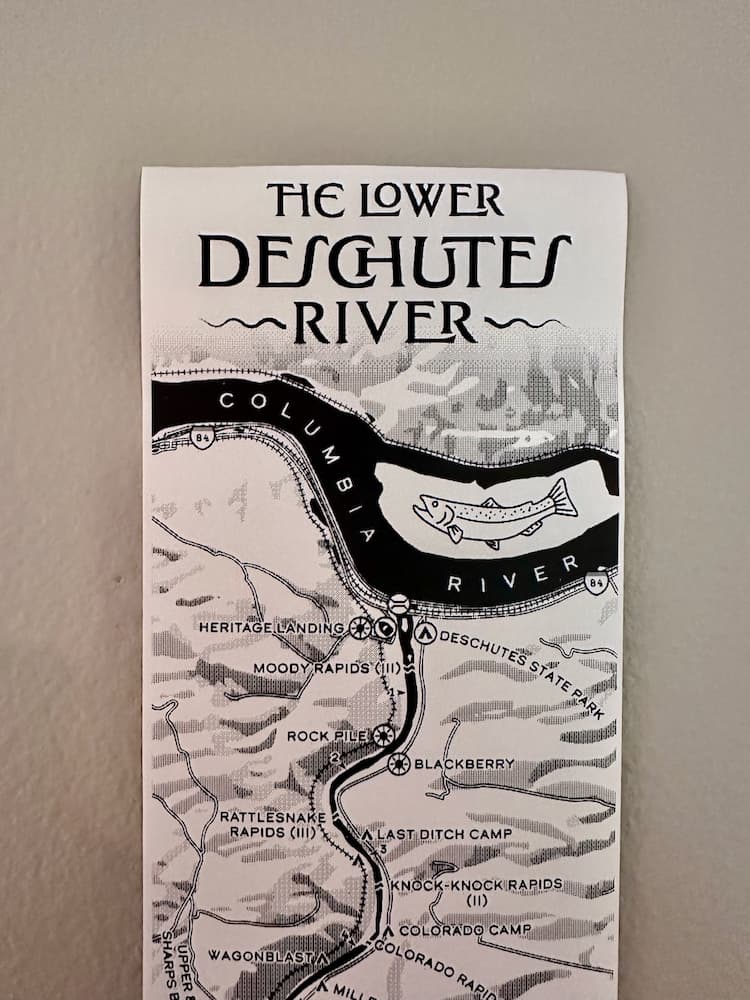
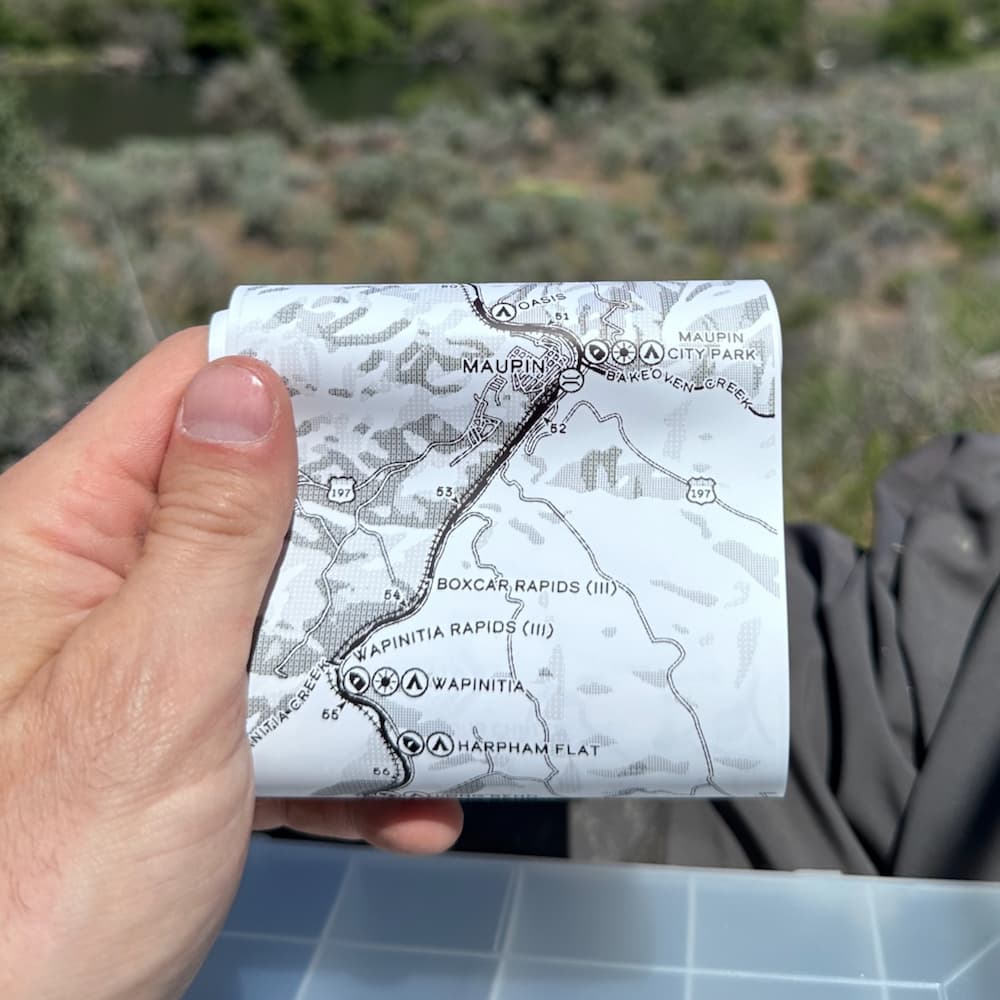
It’s been way more successful than we anticipated: We’ve sold maps to folks in over fifteen states, and it’s now available in several fly shops here in Oregon. All told, we smashed our goal of raising $10,000 for the Deschutes River Alliance, in just over two months.
If you’re scratching your head at the concept of a ribbon map, Royal Treatment, my favorite fly shop in Portland, recorded a fun reel about the project. It went viral, became their most-viewed piece of content on the platform, and is one of the main drivers of our success. It’ll do a better job of introducing things than I ever could. Take it away, Joel and Jennifer:
We’re a garage band
When I connect with people who have bought a map, a lot of them are surprised to learn it’s an entirely home-made operation. Printing, shipping, etc. all happens from my home office. I think of it as kind of like being in a garage band, but with better lighting. To shed some light into the how all that works, here’s a little step-by-step of how the ribbon maps come to life.
(n.b.: None of this would have been possible without Aaron Koelker, the incredible cartographer we were fortunate to partner with in designing the map. Aaron talked about his process when the map launched, if you’d like to learn more about all that.)
The gear
A big part of the Lower Deschutes Ribbon Map idea came from the state of Washington’s analog fishing license and tag system.
Like a few other states, Washington used to print its licenses on a special waterproof, tear-proof paper, and send them to all the licensed anglers in the state. Why couldn’t we use that style of paper, and a thermal receipt printer, to make a durable map? Aaron had made a few ribbon maps already for other rivers, but maybe this one could stand up to abuses in the field?
As I was talking with Aaron about working together, the physical production end of the project started with sourcing a printer and paper. I spent a good week or so making phone calls to the Washington licensing office to try to reach someone who could tell me what printer they used, and who their paper supplier was.
Eventually I caught someone at their desk, and they kindly introduced me to the make and model of printer and even read me the return address off a box of spare rolls of paper from the printer, so I could get in touch. The game was afoot.
n.b.: Just this year Washington started phasing out that specific paper and fulfillment, in favor of print-at-home options. I wasn’t aware of this when we started this project in March 2025. In fact, a lot of things in this article about Washington’s changes would have been very helpful back then.
Our trusty receipt printer
The license representative told me the printer they used was the Zebra GX420d, a thermal receipt printer. The Zebra’s limitations helped set a series of constraints that would guide the project.
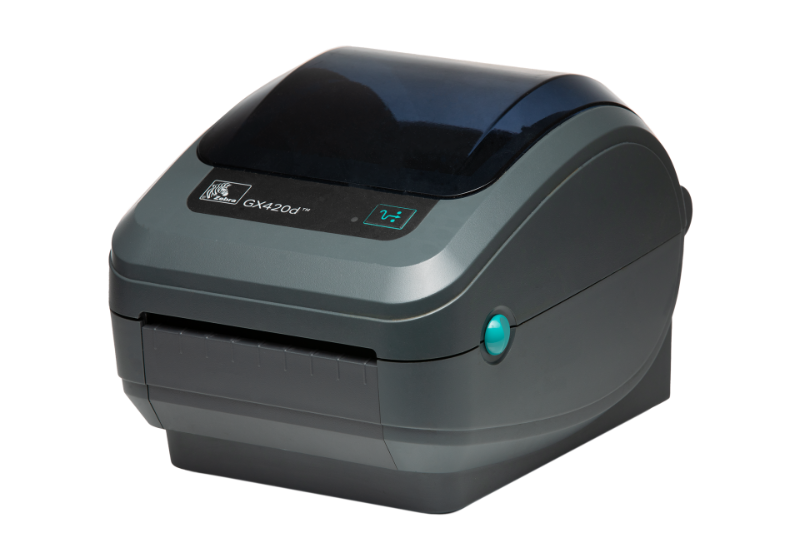
The printer had been discontinued, but there still seemed to be active users out there, and I figured I could get the firmware updated and drivers working on my home Mac. I tracked one down on eBay for about $110, and soon it was home and unpacked. But, how do I work this thing? Plugging it in and turning it on didn’t work. It didn’t come with a manual.
The key to unlock the Zebra was CUPS. CUPS is an open-source printing system that uses Linux, and is accessible over Terminal on a Mac. I used CUPS to communicate directly with the printer, telling it what images to print, how large to make them, how dark to print, what media was loaded, etc.
Designing and dithering
As Aaron designed the map, we checked and rechecked and worked with the constraints of the printer. It could handle paper stock up to four inches wide, so that’s how wide Aaron designed the map. But when we realized it could only print a maximum length of 36”, we had our first challenge. We wanted a map that was proportionally much longer. Could we print two images in a row? Would the seam be visible? Turns out, yes we could print two images in a row, and the seam, with some design magic from Aaron, would be almost invisible. I’ll leave it to you map-scrutinizers at home to find. But that’s how we wound up with a 6’ map.
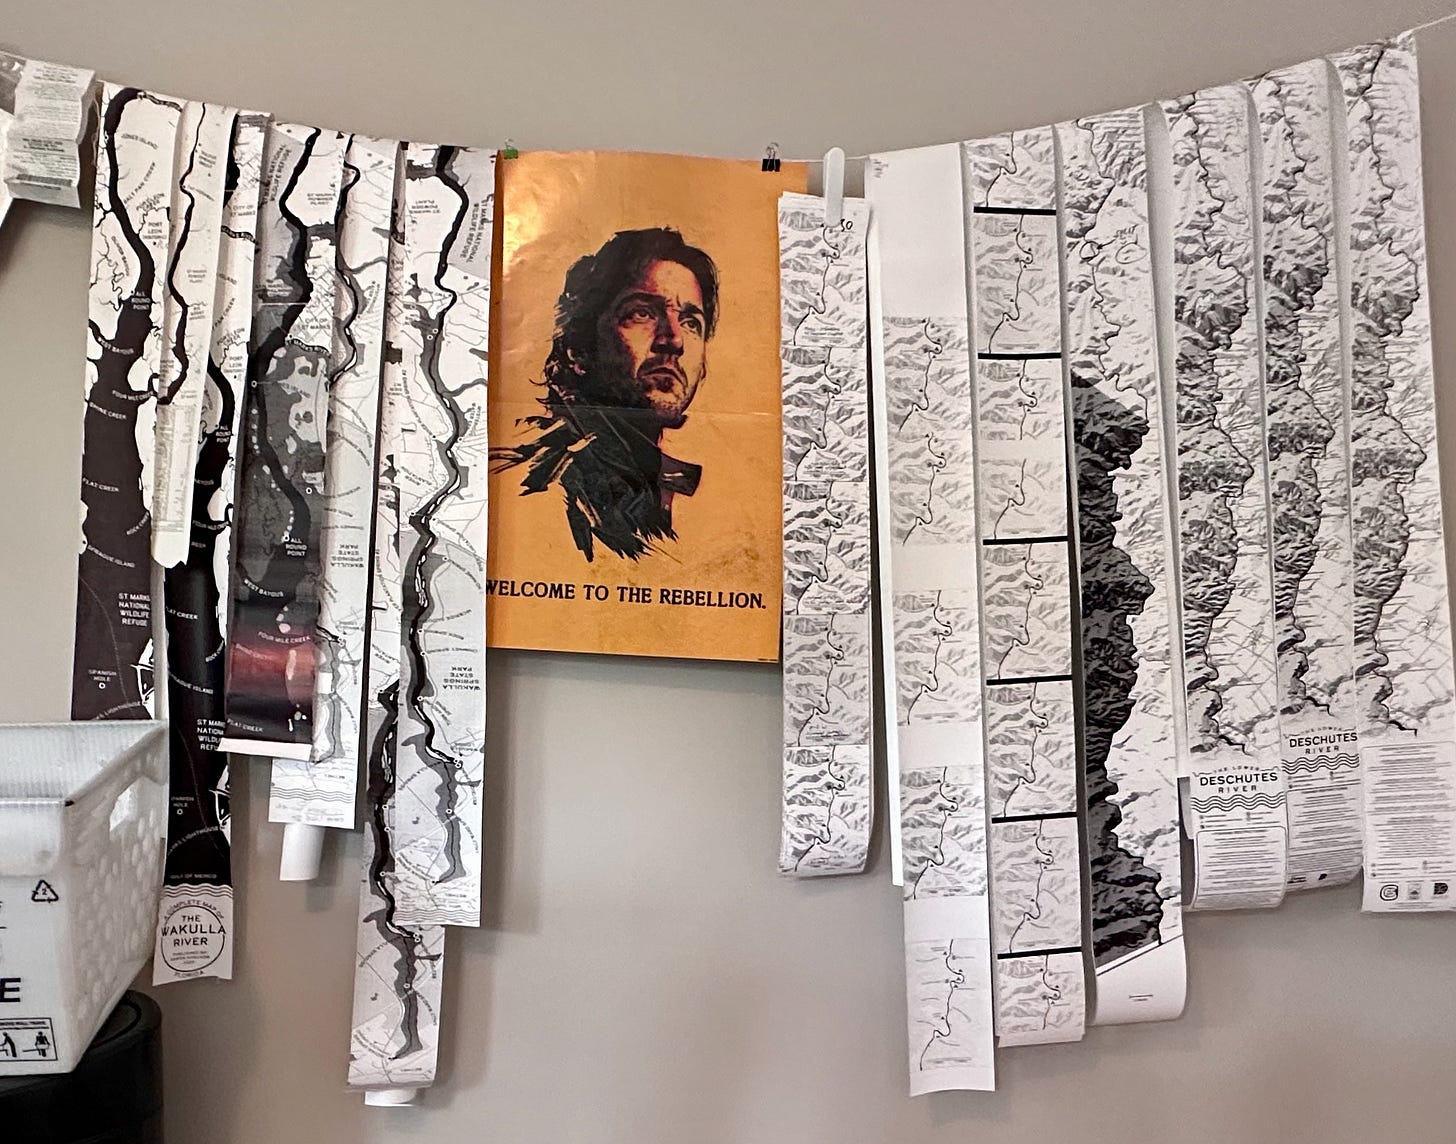
While we were working with the spatial constraints, we had to also work out the visual constraints. One of my favorite things about making stuff for the real world versus for screens is the interaction between the medium (i.e. a roll of waterproof-tear-proof coated thermal receipt paper) and the message. The map that Aaron designed on a screen had to be tweaked just so to appear most legible via the thermal printer, which essentially burned in the image pixel by pixel. I used Image Magick to transform the raw map image files Aaron sent into lightweight files that looked best through the GX420d, playing with the darkness, intensity of print, and, more than anything else, the dithering.
Dithering is one of image-making’s dark arts, something that most people haven’t paid much attention to, but once you start to learn more on is impossible to un-see. In yet another why-wasn’t-this-there-when-I-started moments on this project, I didn’t come across this amazing essay series on dithering from Damar at Visual Rambling until after we had done extensive testing to figure out the right way to dither the map images for printing (ordered 08x08, thank you very much).
Paper stock
When I was a teenager I figured out pretty quickly that if you were up to something fishy or weird and an adult asked you for some kind of explanation, you could just say “We’re working on an art project” and they would leave you alone. Building a clubhouse? Dumpster diving behind Radio Shack? Tracking down equipment to organize a rave? The possibilities that explanation could cover were pretty endless for an white kid in the Midwest who was good at talking to adults.
If you were up to something fishy or weird and an adult asked you for some kind of explanation, you could just say “We’re working on an art project” and they would leave you alone.
What we make may not ever actually be art as it’s commonly understood, but that insulation from scrutiny and self-suggesting permission structure has taken the place of an art education for me. I didn’t get to go to art camp, but I sure did a lot of transgressive stuff and chalked it up to working on an art project.
So when it came to contacting a dozen or so paper manufacturers, starting with the large one the State of Washington used to supply tens of thousands of rolls of its special paper, “we’re working on an art project” was the mantra lodged in the back of my head to give myself permission to build spec sheets, get quotes, and evaluate vendors.
Pro tip: Spend the first couple of cycles in a project like this figuring out the lingo. “What do you call this thing?” is a powerful question, and can help you get closer to a really tight spec.
Suppliers are happy to send you samples, even if you’re talking about a small “art project”. Having the occasional weirdo pop up in their virtual shop window talking passionately about a fun project they’re working on, potentially with the odd commodity they sell, is a welcome respite from selling stock for parking tickets.
Ultimately, as I learned more, the cost of a small run with a big printer became a little prohibitive. They would ultimately have to cut down my materials from bigger rolls of other materials, and that’s got a huge setup fee. Custom tinting, also, like the way the licenses have watermarks or cool paper colors added a lot of cost. And since I wasn’t sure how many of these things we’d wind up needing, I would up going to with an off-the-shelf variant from Brother, a major manufacturer. It was a skosh thinner on the caliper than I would have liked, but a project like this is full of compromises.
Roll it up...light it up, smoke it up?
The other big challenge I had to solve was in packaging. How should people store and transport this thing? Part of the practicality and functional aspect was in the paper, yes. It was important that it not tear, and that it be able to get wet. But that didn’t mean you’d just jam a six-foot-long receipt into you fishing vest. It’d be like the world’s worst CVS trip.
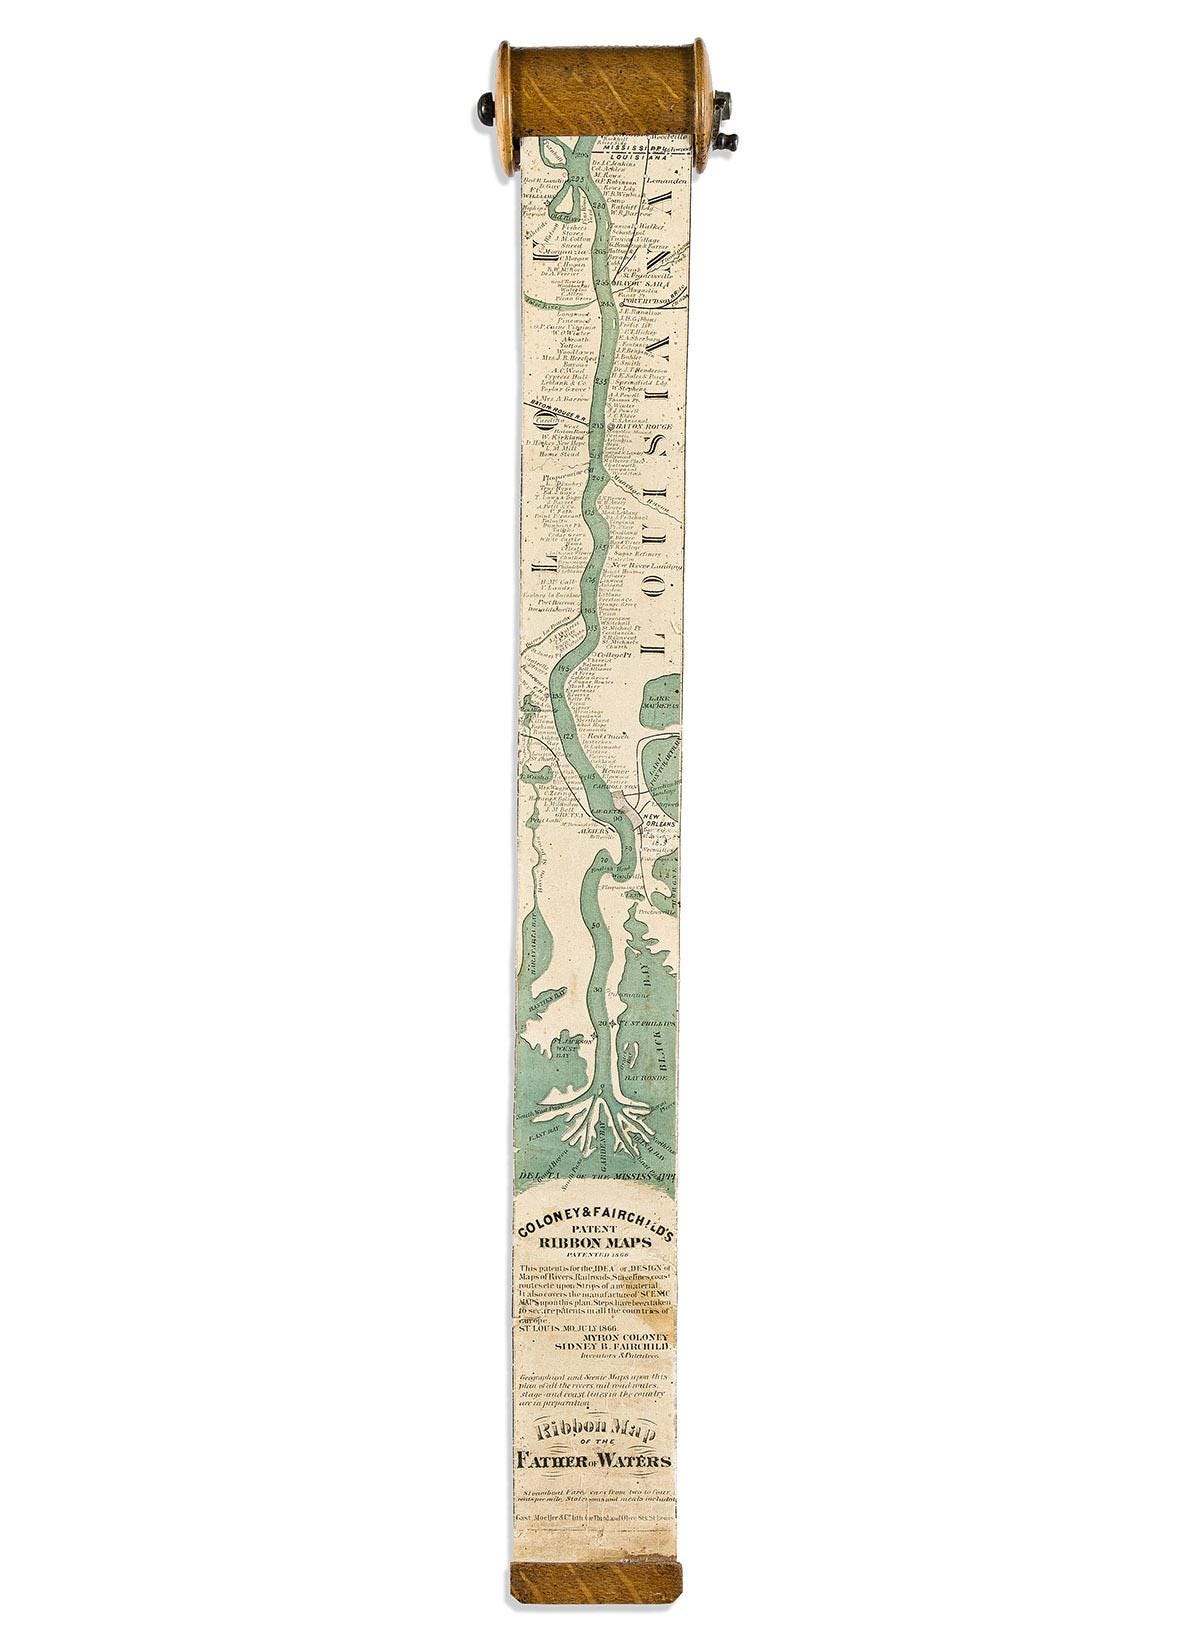
A ribbon map has one natural format: A roll. Early ribbon maps, used for riverboat pilots and tourists on great rivers like the Mississippi came with their own wooden cases with cranks to roll them back up, viz:
There’s a close analog to the ribbon map in route sheets, or “roll charts“ used for motorcycle enduro rides. They’re timing / mileage charts, not unlike rally route books, that help riders find their way over long and complex trips. They have special route sheet holders that mount to the handlebars. I had a hard time finding one in 4” width that was available in the quantity I needed, but it’d be fairly straightforward to get a motorcycle enduro route sheet holder custom fit, that could mount to your raft frame or drift boat seat.
I thought about coated paper packaging, a rectangular cylinder, was close to ordering some samples when I stumbled over some detritus in a parking lot that kicked my brain into gear. It was a discarded joint tube, a new sort of litter that has arisen here in Oregon since cannabis legalization. It was long, yes, and a cylinder. Could I find one that was just the right size?
Yes, dear reader, I could. I found a made-in-the-USA supplier for my tubes, known in the trade as a “doob tube” (again with the lingo). I have no idea what a 4” long, 1” wide joint will do to a personhachi machi, but the mere commercial existence of these boogaloo spliffs unlocked the perfect container, with the childproof squeeze-lock providing a very satisfying “pop” each time they’re opened.
The print process
I like it! Very zen.
By now, I have printed, cut, numbered and rolled over a thousand ribbon maps, and have it down to a science. The sound of the Zebra printing a map is seared into my brain, like a dial-up modem.
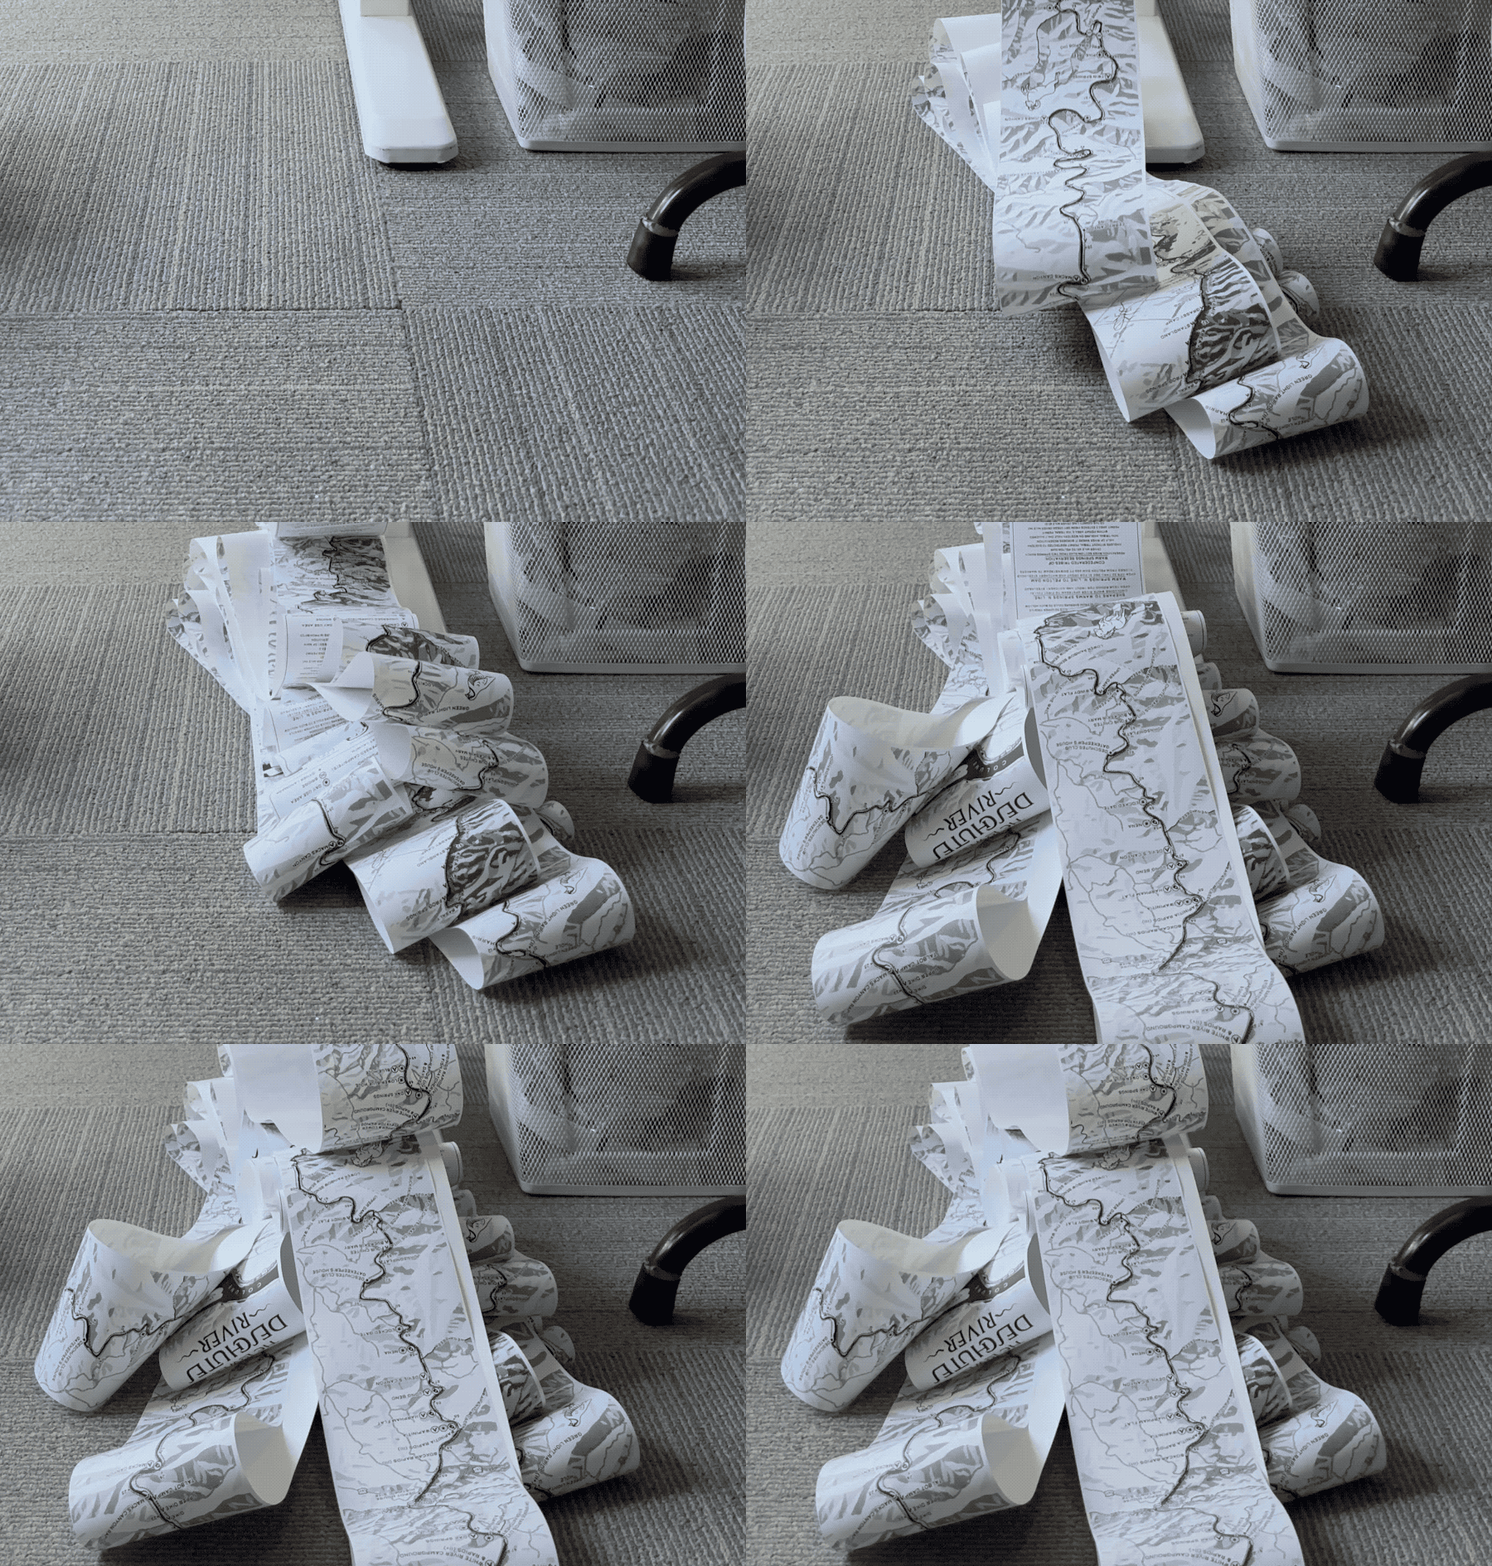
At near breakneck speed I can fully process a roll of maps (15) in about 10 minutes. The printer needs a break after 4-5 rolls due to heat building up and causing the image to fade, but then again, so do I.
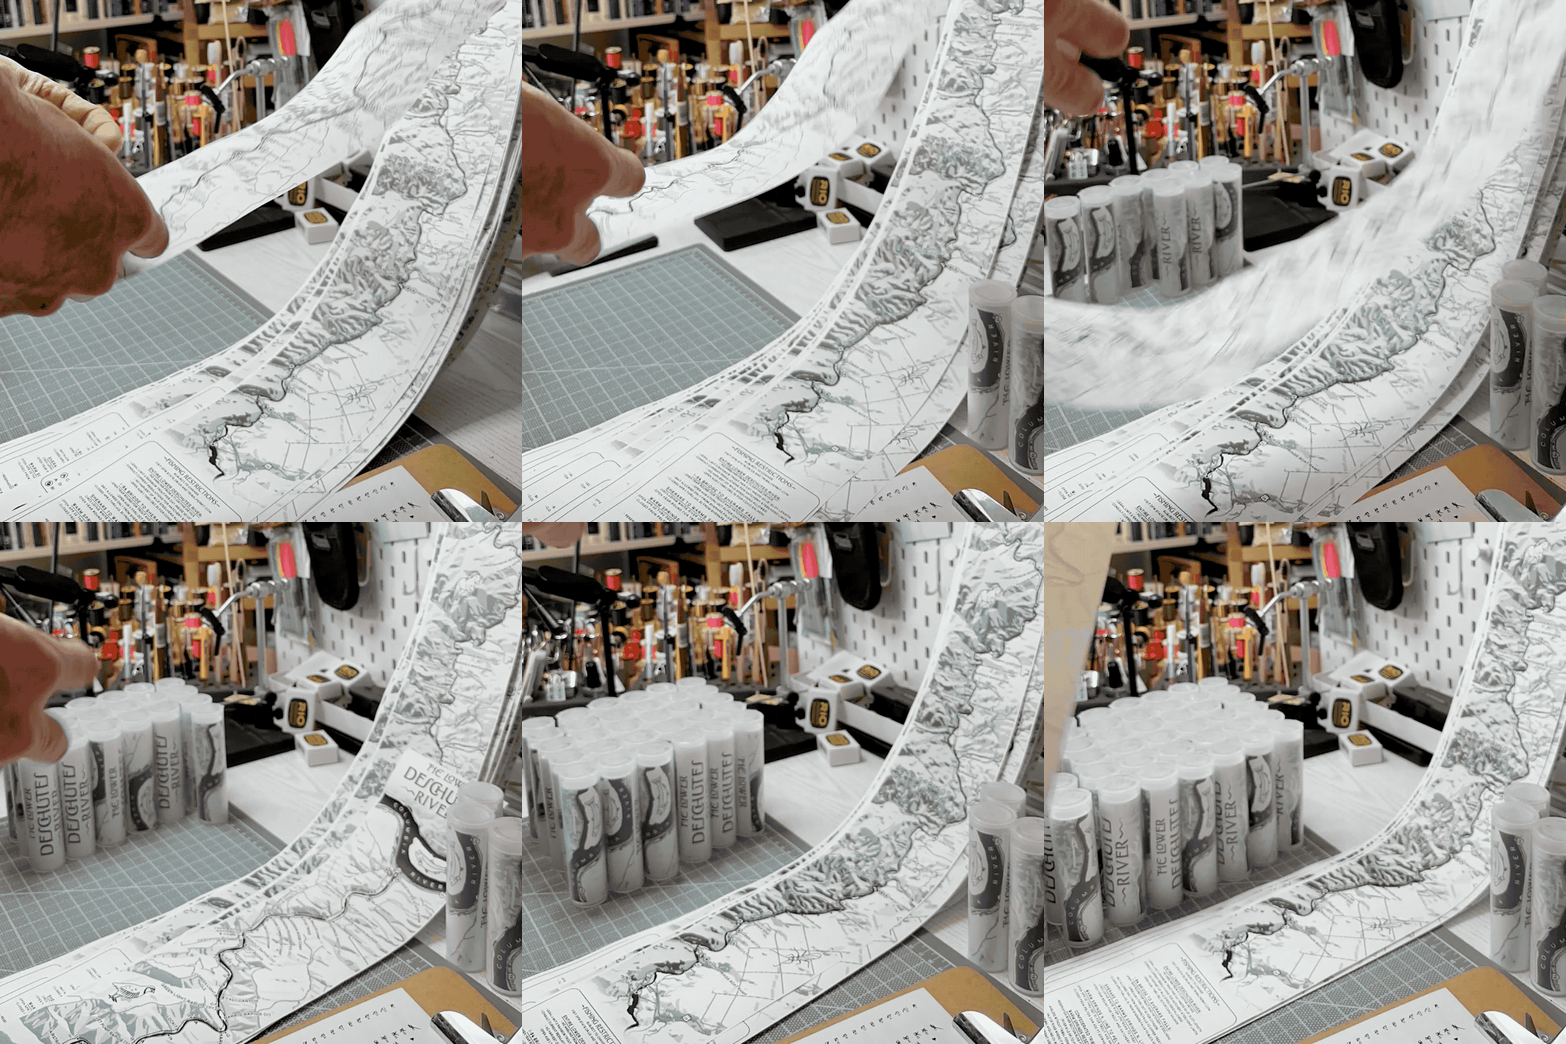
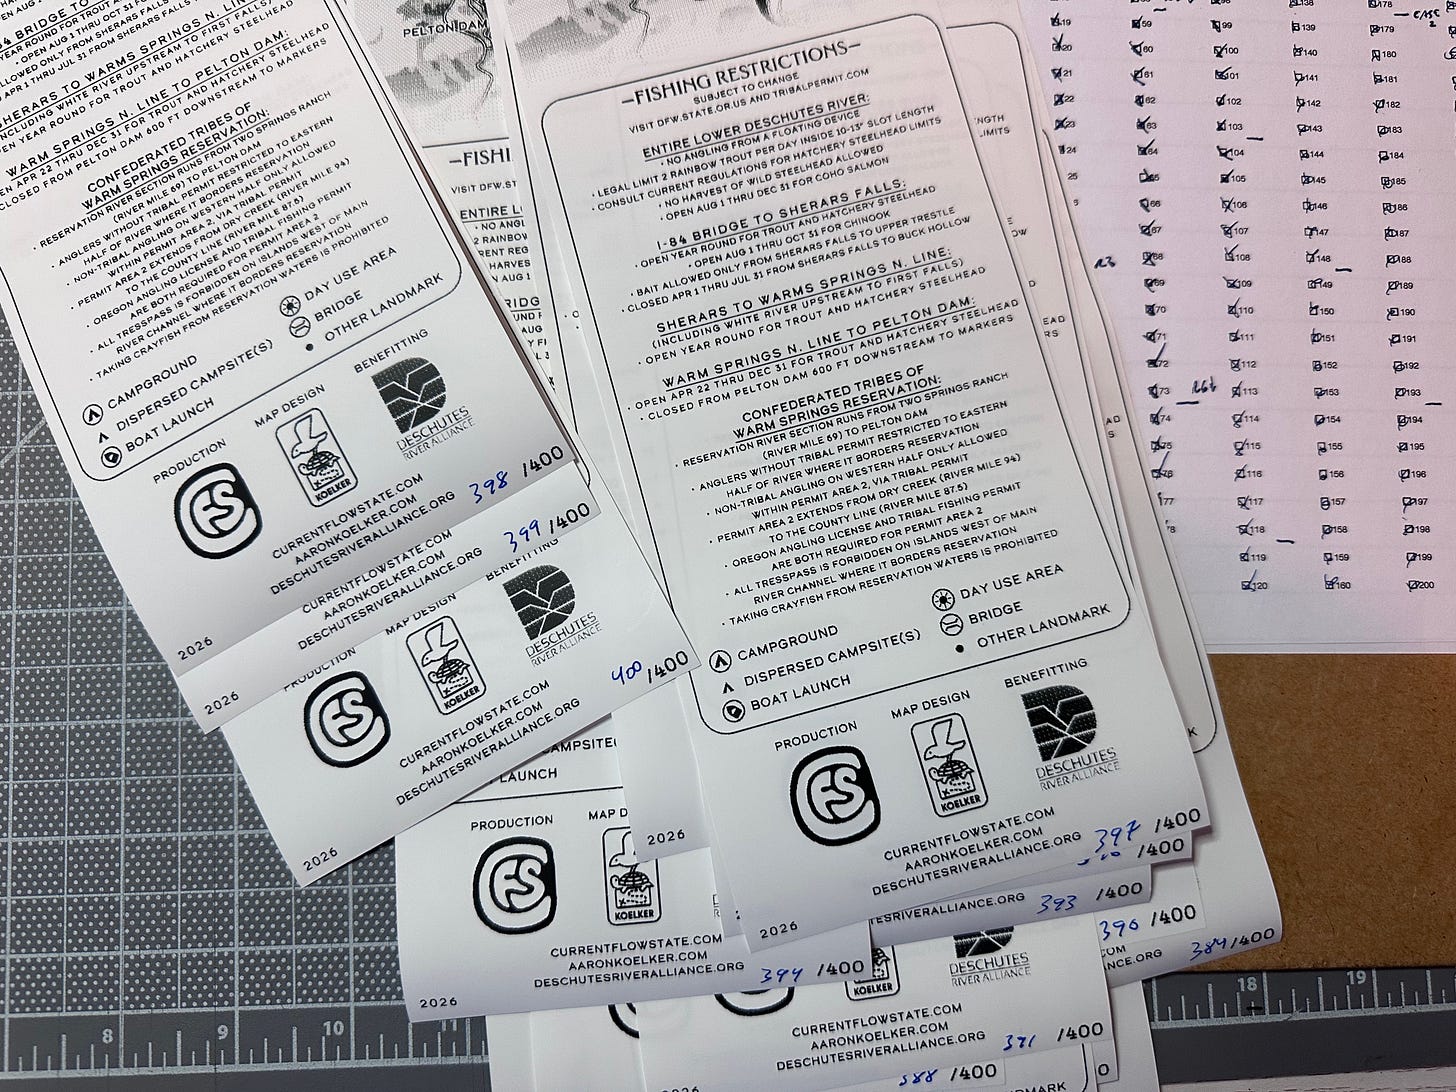
Earlier on, before I had gotten it down to a more precise cadence (and when I was hand-numbering), I’d print an entire roll off, then do the cutting, then the numbering, then tube them. The new way is much more efficient.
Here’s what the process looks like:
-> Use Terminal to print 15 maps, with 15-second delays between sections
-> Cut the map once it’s printed
-> Roll it up tight
-> Stick it in the doob tube
-> Cut the next map that has since printed, and repeat from the rolling step
It’s a precise ballet featuring a sharp utility knife and some quick hands for the rolling. If I take too long to roll one up, I get behind. It’s like working on a slightly bonkers assembly line.
Sales and fulfillment
The e-commerce and fulfillment aspects of the project was by far the easiest and most fun part of the entire thing.
Beyond eBay and Discogs I’m new to doing the actual “selling stuff on the internet” part of the internet. And, it’s come a long way since I started on those sites.
Here are the steps I took to fulfill each map order:
- Bulk import the order(s) from our shop provider (Payhip)
- Bulk buy postage from our postage reseller (Pirate Ship)
- Print postage on label paper with another thermal printer
- Stick labels on poly bags
- Write a thank-you note
- Bag up the maps plus any additional goods (CFS stickers)
- Put it all in the bulk USPS bin our mailman brought (thanks mailman!)
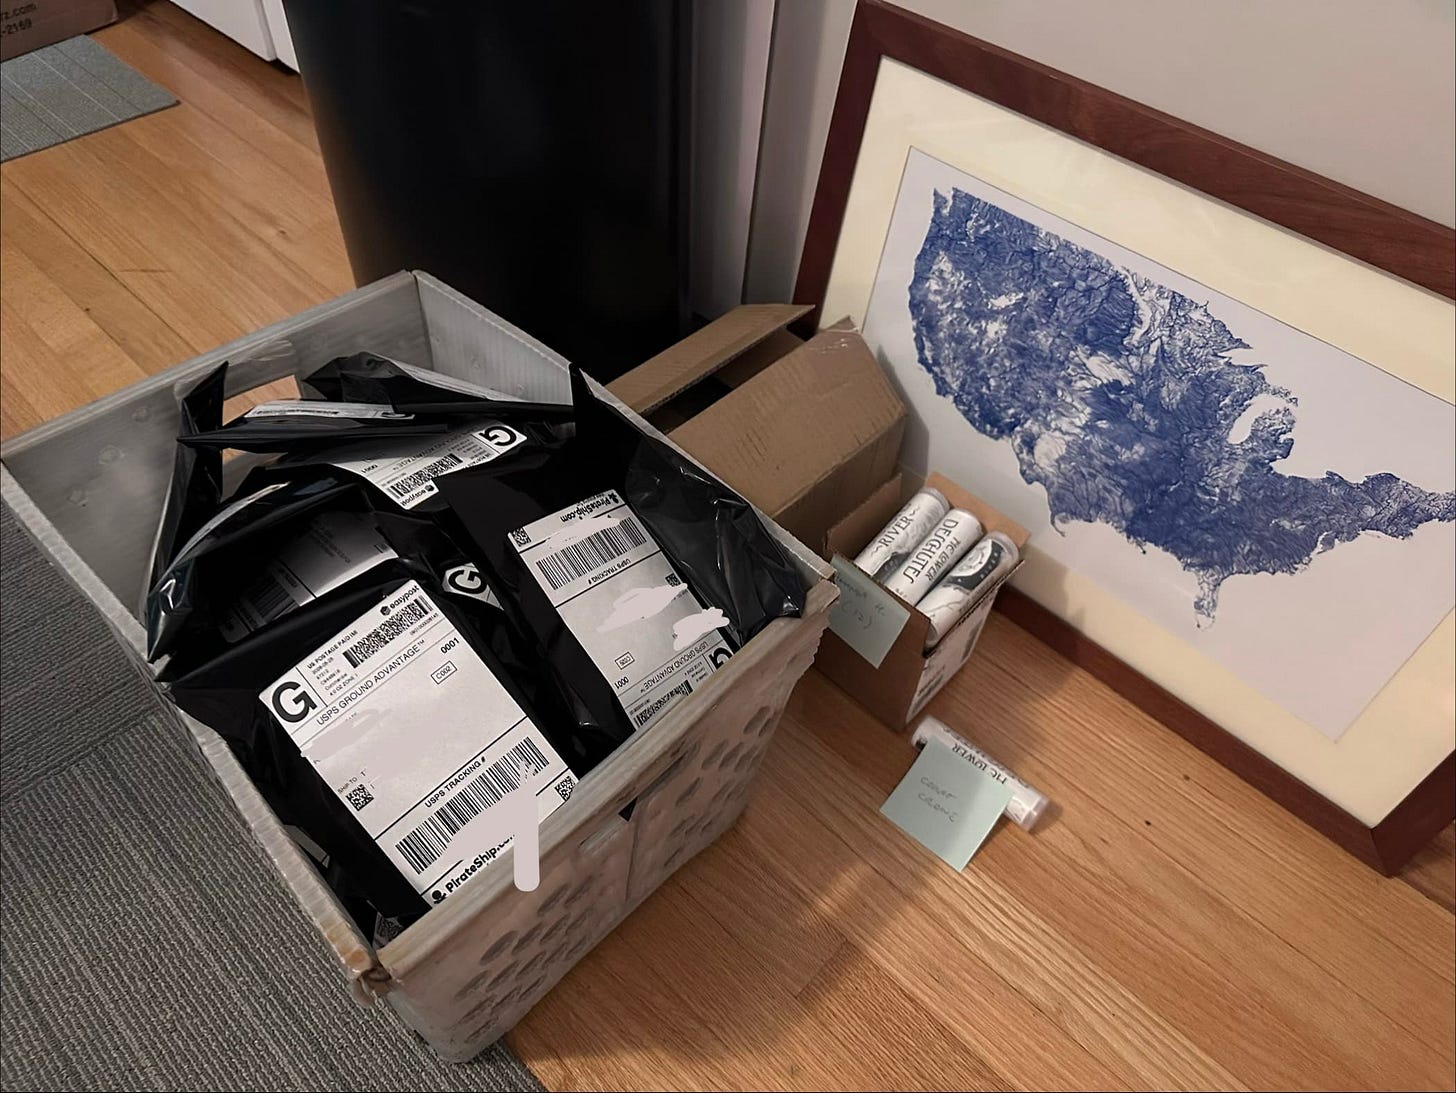
For about a week, we were getting 40+ daily orders, this was a main task every morning/ Wake and fulfill. It got to be pretty routine. Now, as things have slowed down, I’m doing it once a week or so.
Getting a good workflow around the mailing label buying and printing process has been a game-changer, though: I feel like I won’t ever need to wait in line at the Post Office to send anything ever again.
Promotions and marketing
For a lot of folks, myself included, promoting the thing once it’s out in the world is the hardest part of the process. We got really lucky and hit algorithmic gold, but also had strong community support.
Sarah Cloud and Steve Hawley at the Deschutes River Alliance were excited about the project from the start, and gave the maps a corner of their merch booth at TroutFest, and touted it online in their newsletters. Amy Hazel at the Deschutes Angler was also instrumental, offering a ton of moral support, endorsement, and a position front and center at the shop.
It’s not surprising, but still feels good to be reminded: Folks who are allies of the cause you’re supporting, or the subject of your thing, will likely also want to support the thing you’re making.
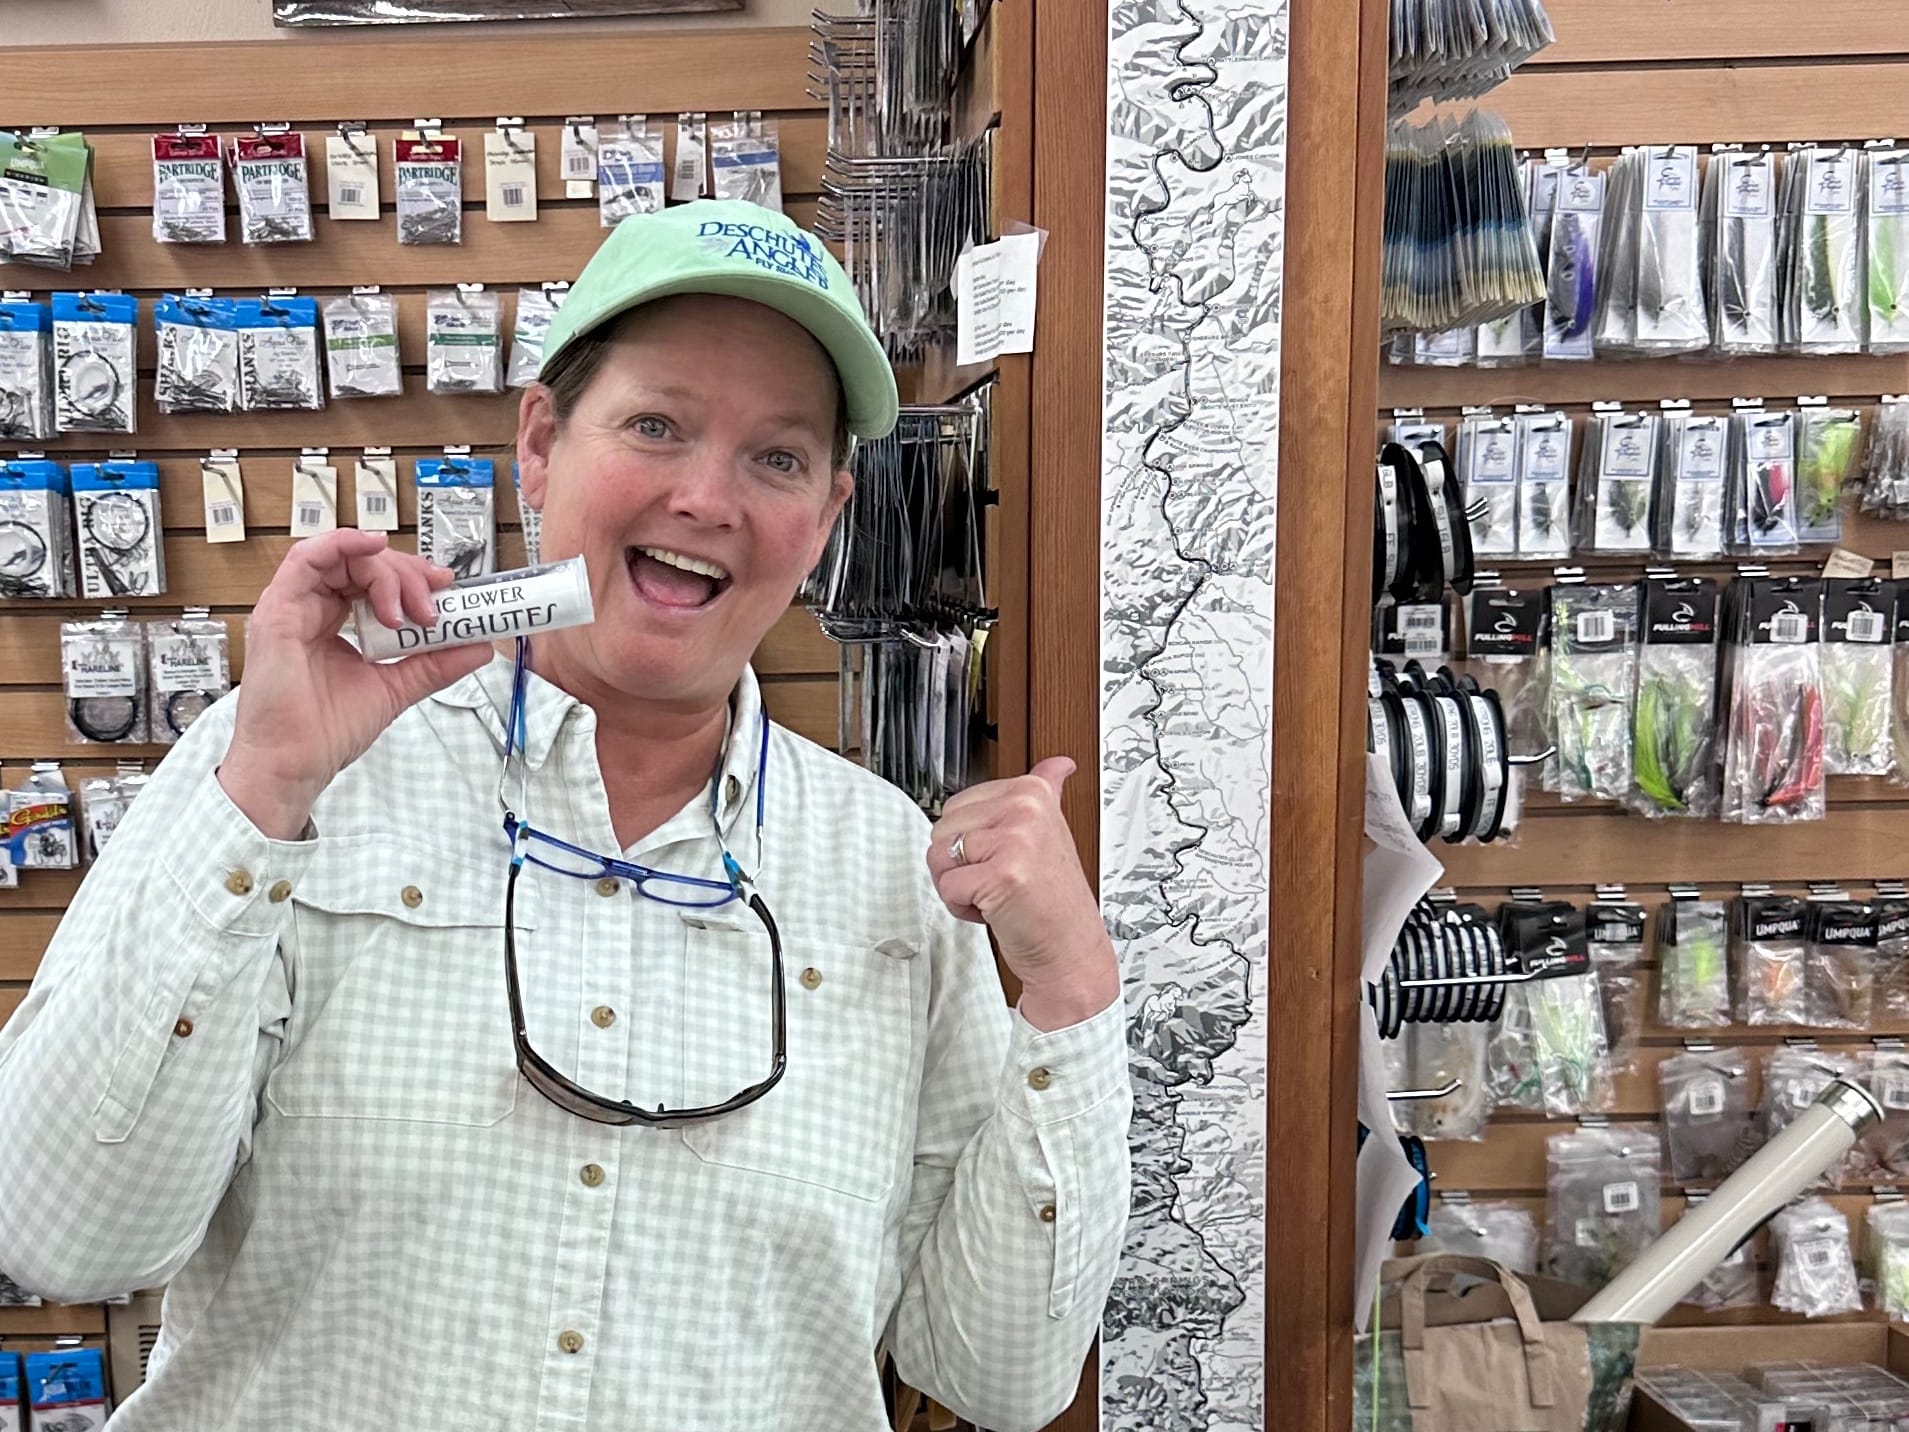
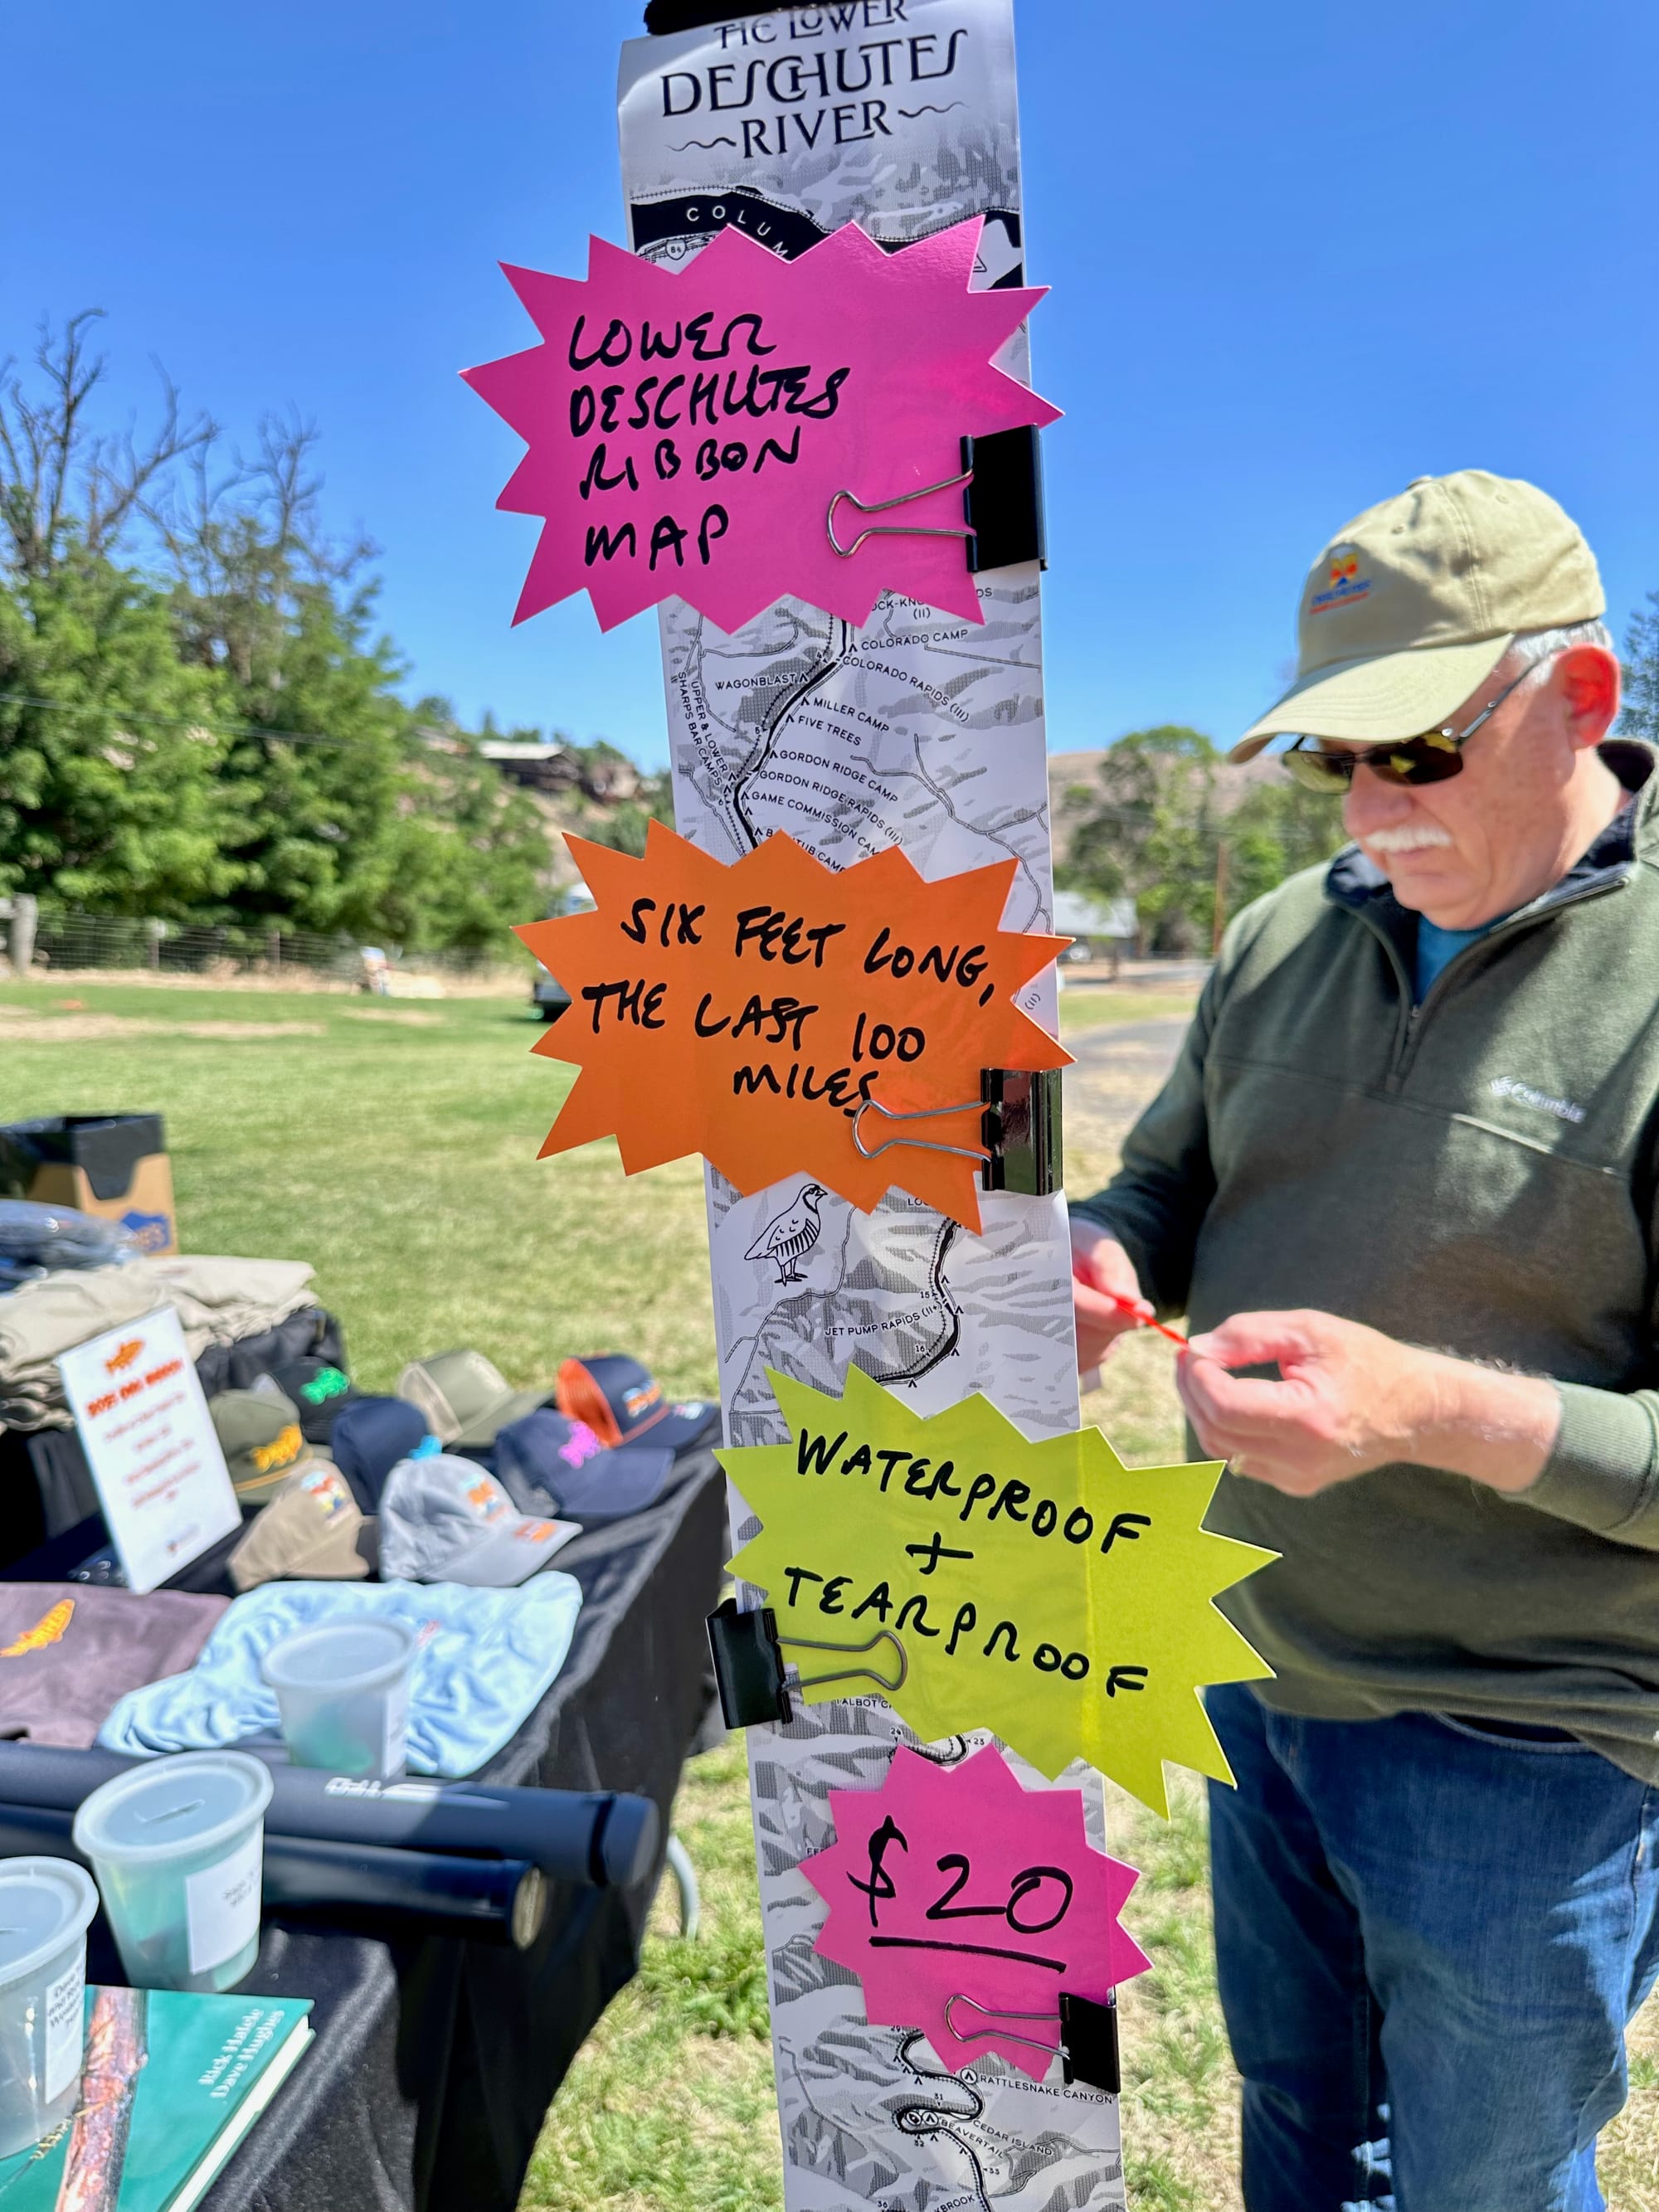
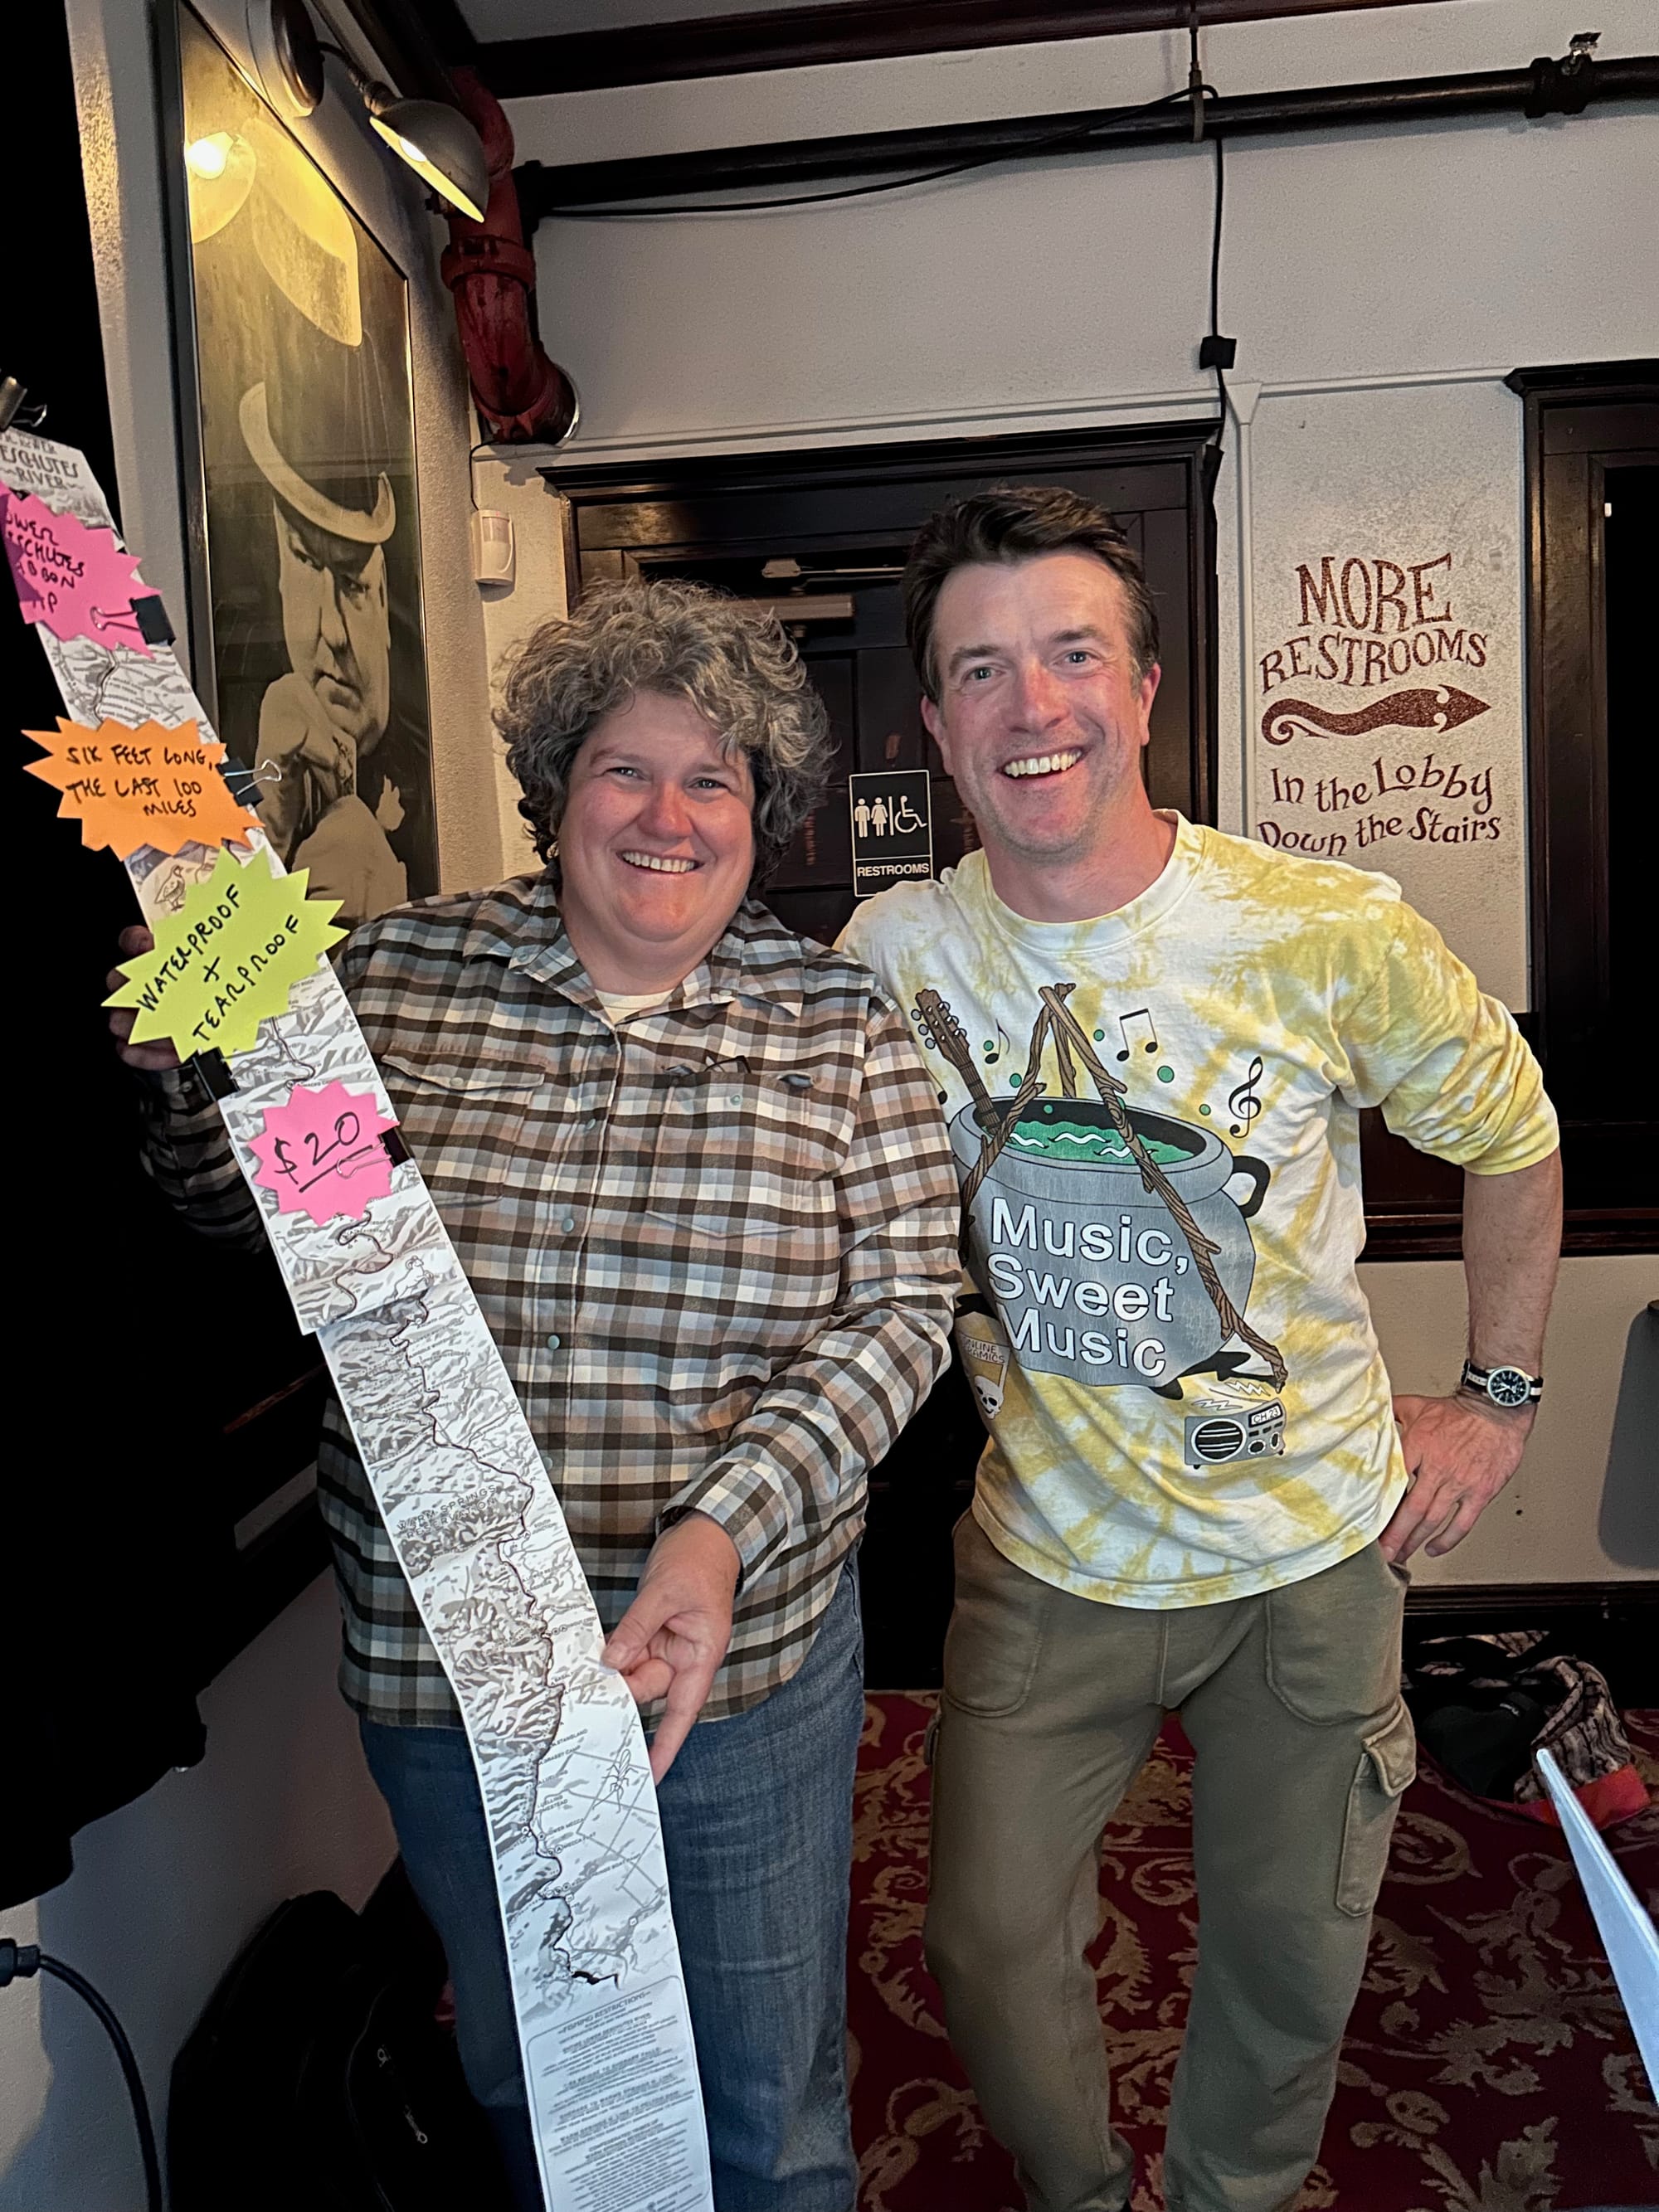
Prior to our May launch I sent a little package with some maps and a note about the project out to 20-ish influential fly shops and anglers with connections to the Deschutes River. I asked them to post about the map, or to support the noise we were making about it. Only one (Royal Treatment) was moved enough to post about it, but its success more than made up for the lack of engagement from the rest.
I also tried some paid Instagram boosting of an introductory reel, and other posts. Giving Insta / Facebook / Meta money feels so weird to me, given how injurious it has been to culture and society, that I kind of half-assed it, and it didn’t really work. But I still like the little intro video I made. Mostly because of the John Prine song, probably. And the little drift boat on a stick.
What’s next?
I’m not sure what’s next for this project.
A lot depends on the amazing cartographic talents of Aaron, and whether he’s up for another rodeo. One of the biggest surprises I had was the number of folks who just wanted to put the map up on their wall. To that end, I’d like to make a color version more suitable for framing. But the 2-3 printers I’ve talked to have said it’ll be an expensive job, because the image is so long. So I’m in the process of sourcing some specialty map printers to see if we can get the cost somewhere more reasonable. If you know anybody...
We’ve also had a ton of folks suggest we do other rivers, but that depends on a couple things, mainly collaborators. I probably wouldn’t launch another river without support from a major fly shop on that river, and a “Friends of the...” or foundation that is interested. Again, if you know anyone at the Henry’s Fork Foundation or Madison River Foundation...
You can do it!
Here’s a closing sentiment to echo what I said earlier: You’ve probably got an idea like this nagging in the back of your head, that you want to do, but aren’t sure how to start, or where it will end.
One of the greatest things about self-directed projects is they can move at whatever speed you want. And if you don’t have to go fast, and aren’t being forced by external pressure, you can do pretty much anything.
Just get started. You’ll figure it out along the way.
More on the Lower Deschutes Ribbon Map
 Nick Parish
 Nick Parish
 Nick Parish